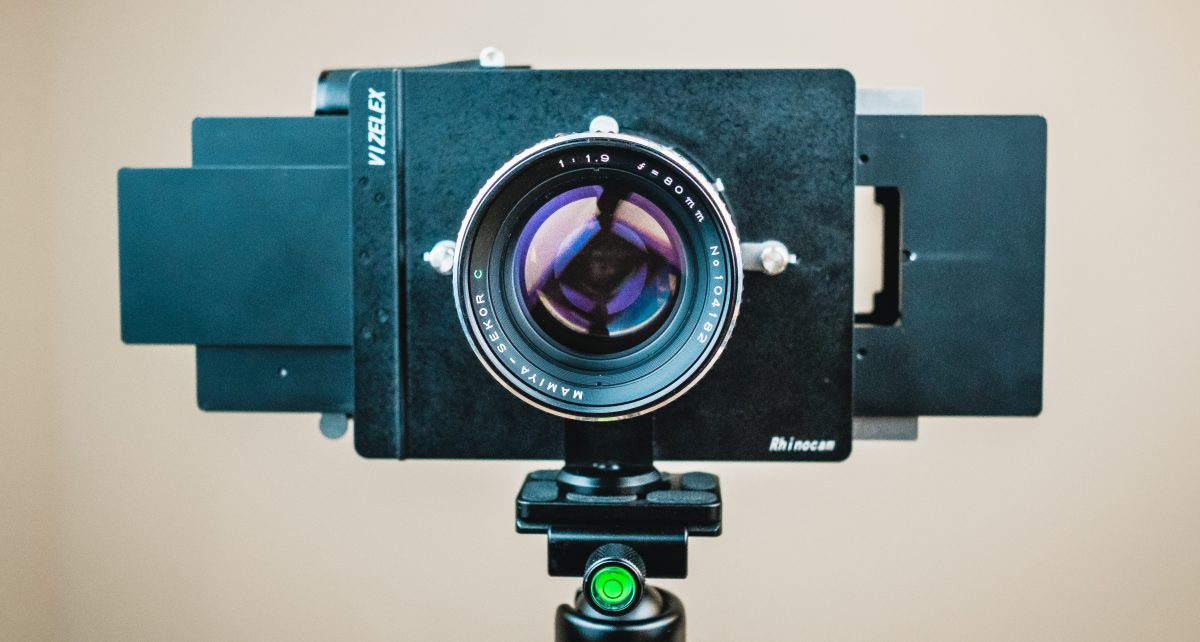
Do you wan’t to get higher resolution than medium format with your normal aps-c or full frame camera? Fotodiox Rhinocam let’s you do just that for small money. With the Rhinocam you can adapt medium format lenses on your camera, you move your camera around on the adapter taking up to 8 photos, later you stitch the photos together in software to get the super high resolution photo. It’s different that just doing panorama stitching since the point of view is the same and without distortion. It’s a relatively cheap solution (the Rhinocam is around 200$ currently) and there are some older medium format lenses that are absolute bargains right now. Plus using old medium format lenses is fun!
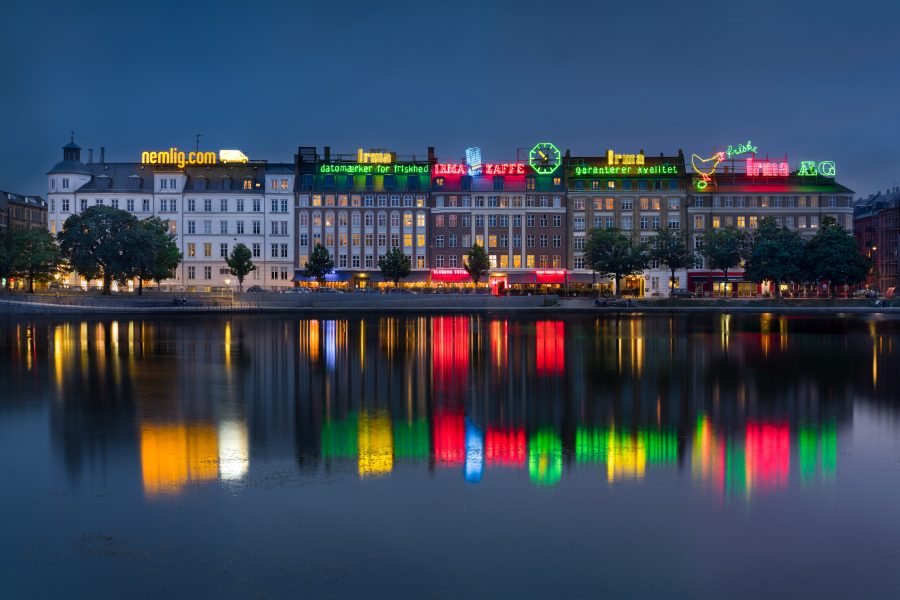
The “lakes” in Copenhagen, Denmark. Taken with Mamiya 80mm f2.8 lens + Rhinocam + Fujifilm X-T20. Full size version here (14091×9394, 132 megapixels, 36 mb). Uncropped version here (14954×10703, 160 megapixels, 40 mb)
What do you get
Here is what you get when you buy the Rhinocam:
- The Rhinocam adapter is available for Canon, Nikon, Sony and Fuji X mount (the one I tested).
- A lens mount, either Mamiya 645, Hasselblad V or Pentax 645. You can buy more additional lens mounts later and change it on the Rhinocam.
- A black case for the Rhinocam.
What you’ll also need:
- A matching medium format lens.
- Personally I like the Mamiya 645 lenses, they are among the sharpest (check out my big medium format lens test) and cheap. i.e. the Mamiya 80mm f2.8 lens goes for around 130$ and is one of the sharpest lenses you can get.
- Reading other reviews people complained about vignetting with 645 lenses and recommended 6×7 lenses. I tried it out with a Pentax 645 to Pentax 6×7 adapter, but the Pentax 6×7 was a lot less sharp, had high chromatic aberration and didn’t like the colors of the photos.
- Crop factor is approximately 0.53 (according to Wolfcrow blog), so a 80mm lens is like 42mm on full frame.
- A sturdy tripod – it’s a heavy setup so you are gonna need a good tripod with a good ball head.
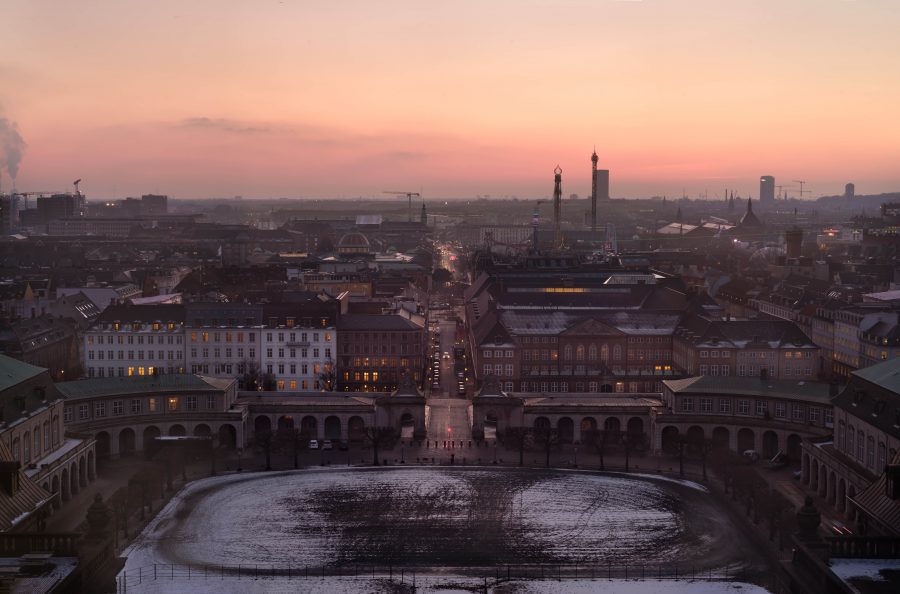
View from the tower of the danish parlament (Folketingets tårn). Is taken with the Mamiya 80mm f4.0 macro lens + Rhinocam + Fujifilm X-T20. Full size version here (14578×9618, 140 megapixels, 26 mb).
How to shoot it
- You setup up your tripod and mount the Rhinocam with lens and camera.
- You can slide the camera all the way to the side enabling you to frame the shot looking though a window, like on the old large format cameras. You’ll need extra light so stop down your lens aperture, frame the shot and focus the lens.
- There are two mode to use, panorama (wide shot of 4 images) or 645 (more square shot of 8 images, the only mode I used).
- Depending on what mode, you allign the camera with the dots on the back side, take a photo, then move it to the next dot, take a photo, repeat until all photos are taken.
- You will probably want to use manual camera settings to get the same exposure.
How to edit it
Now you have the photos (i my case I use 8 photos) and need to stitch them together. You can almost just align the photos next to each other in Photoshop and save it, but for most photos it won’t work since there is a slight lens distortion.
Luckily there are a lot of panorama merge tools out there, but the problem is that they are designed for heavily distorted photos taken with one normal lens and changing the view point. It’s still positible but it can make the process a bit harder. Here are the tools I used.
- Photoshop Photomerge or Camera Raw/Lightrooms Panorama Merge – They might work or they might not, and if they don’t you can’t do anything to tweak it. But I advice to try it out since it’s easy.
- Photoshop manually merging – Like mentioned you could do the merging yourself. Import each image as a layer and mask out the overlaying areas. But for images with a lot of connecting likes this could be impossible. Don’t recommend it.
- PtGui Pro – It’s a paid panorama merge tool with a lot of advanced features. I advice to use this if Photoshop fails. Here are some tricks I found that made the merging work better:
- Some people claim PtGui needs the lens focal length to calculate the panorama correctly. You can add the lens focal length either in camera or afterwards, I use the tool ExifTool Gui.
- Turn on advanced options (on the project assistant tab).
- Don’t add too many control points, too many doesn’t help.
- Use the mask out feature – the layers overlaps, use this to decide what photo should be shown and what shouldn’t. Good if you use different focus for each photo, or if some lines have a hard times connecting.
- Try to add vertical/horizontal lines if the image won’t merge.
- Export to 16 bit tiff.
- When you are done, check the merged image for merging error. Open the image in your favorite editing program and make the final image.
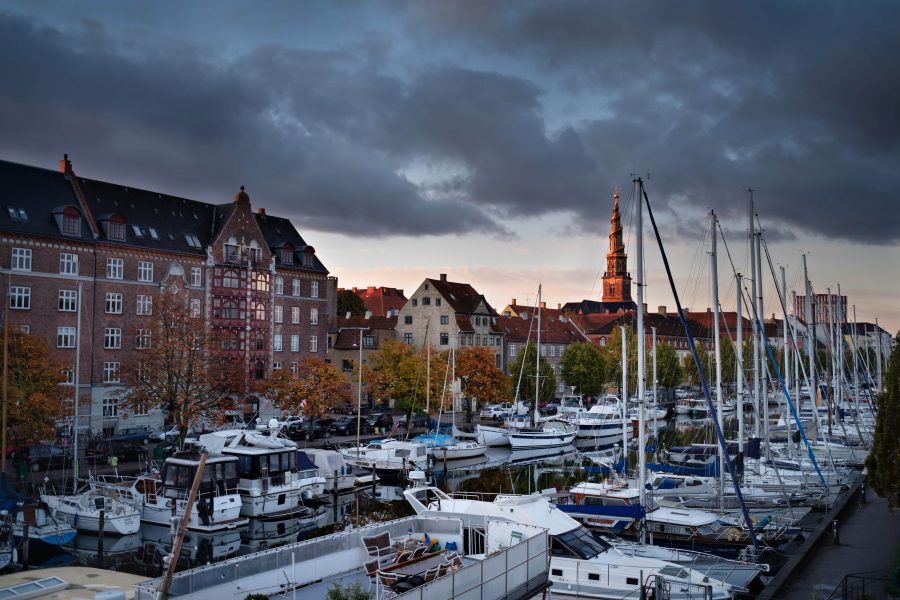
Christianshavn in Copenhagen, taken with the Pentax 6×7 SMC 55mm f4 lens + Rhinocam + Fujifilm X-T20. Full size version here (14189×9466, 134 megapixels, 25 mb).
Tips and tricks
- Some things are better to use the Rhinocam for than other: Auto aligning the layers can be hard if too big areas are moving clouds.
- The Rhinocam is popular to scan analog film in super high resolution, but hasn’t tried it yet.
- If you want photos with even more details I recommend trying the “Super Resolution” technique: you shoot 10-30 shots of the same image, align each layer on top of each other in Photoshop, blend them and add sharpening. Removes noise and adds extra details but require that your subject is not moving. Read more about it on Ian Norman’s blog.
Conclusion
Pros:
- When it all works, the result is truly amazing! Of cause it’s not as versatile or easy as a digital medium format camera, but for the limited cases it’s even better.
- Makes you slow down and think about what to shoot, kinda like with analog film.
- Those old medium format lenses are amazing and it’s so fun to discover the world of old medium format gear. Many of the lenses are underpriced for what you get.
Cons:
- To me the biggest problem is the photo merging process. Some photos can be easy to merge but some can be hard, to the point where it almost isn’t worth the effort. The solution is to learn the merging tools but it takes some time.
- It’s a big and heavy setup, you need a big backpack and a solid tripod and you’re gonna look like an idiot when you put it all together. I’m okay with it but it makes things more complicated.
- Not all landscape/cityscape photos are easy to shoot with the Rhinocam: i.e. photos with too much moving cloud, water or moving people is hard for software to merge. But as long as you understand the limitations it’s not a problem.
Links
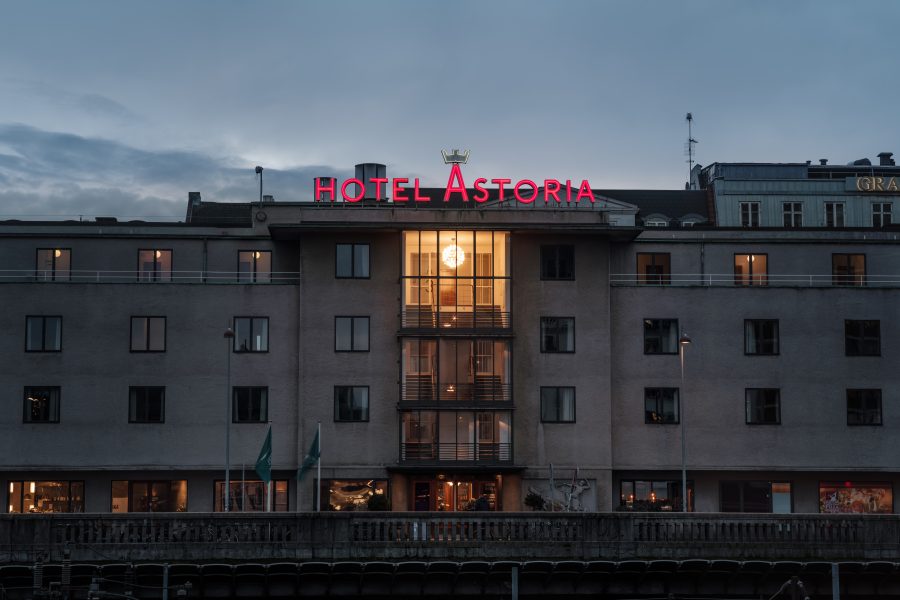
Astoria Hotel in Copenhagen, taken with Mamiya 110mm f2.8 lens + Rhinocam + Fujifilm X-T20. Full size version here (14498×10050, 146 megapixels, 26 mb).
