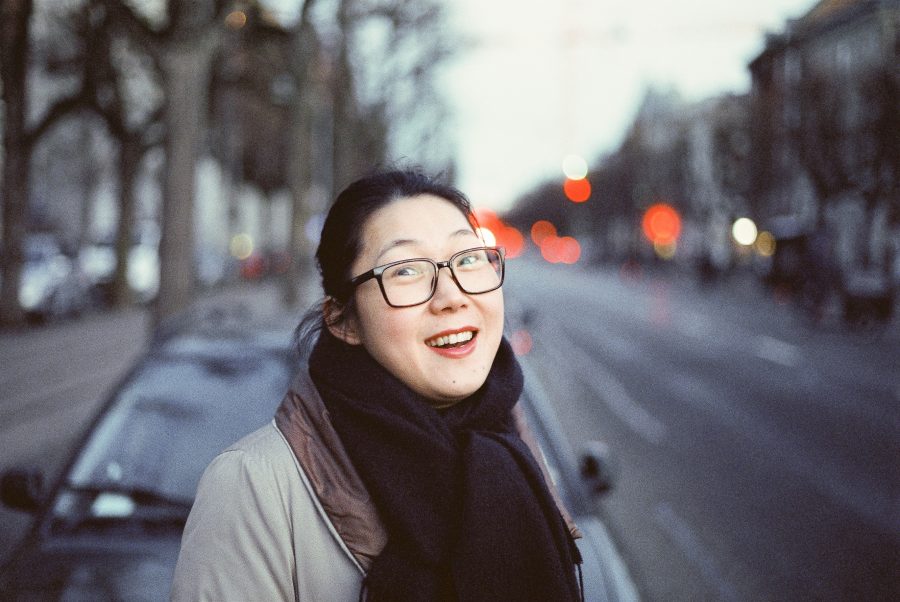
For me shooting analog film photography is something I do when I get tired of digital photography. I’ve written about my initial experience shooting film here (part 1) and this is part 2.
First of all, here are some reasons why I like analog film photography and why you should maybe try it too:
- If done right, analog film can add some magic to your photos, the film grain and the colors of the film. I can’t reproduce the look digitally.
- There are different film stocks, each with a different look. Each color-film boosts some colors and mutes others, it makes you think more of what subjects to shoot. I.e. Kodak Ektar boosts red colors, that makes you look for red subjects to shoot.
- It slows you down, makes you think more before you shoot and sometimes it’s good to go back to basics. It’s a good exercise that forces you not just shoot burst of shots, instead you think ahead and plan everything. It doesn’t always works but it’s fun to try.
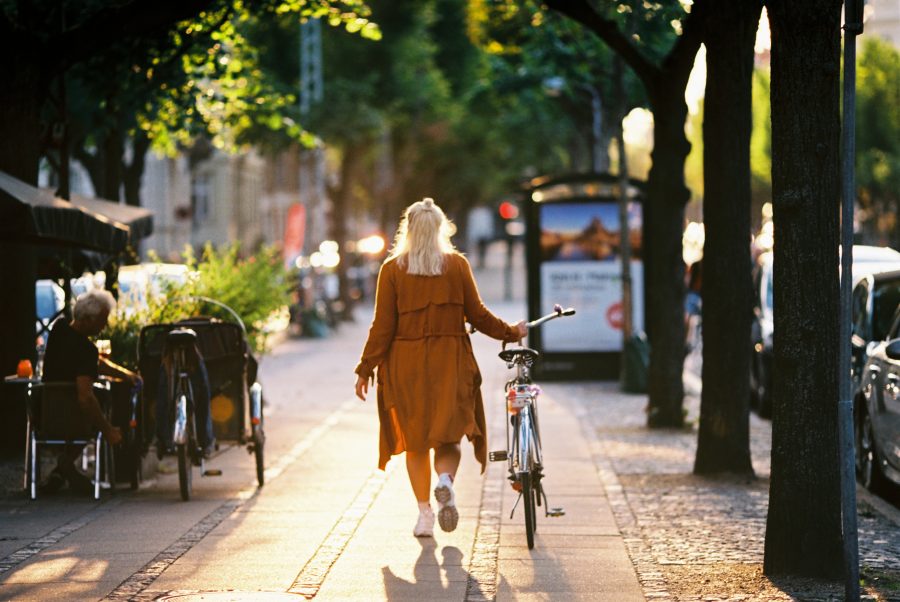
Girl walking on Frederiksberg Allé on a summer day. Shot with Canon EOS 650 + Canon EF 135mm f2 + Kodak Ektar 100.
- When you shoot digital you get a flat looking raw file and then you can (or your camera can) edit that data to make it look good. If you like me don’t really like post processing, then skipping this process is nice, what you get is what you get.
- Try to look at the photos of some classic photographers like Steve Mccurry, look at the colors of those photos. I know a lot of old films like Kodachrome doesn’t get produced anymore, but look at those colors, it’s like the photos are dripping of colors. Have never seen digital photos with that look. No doubt that film can do something digital can’t.
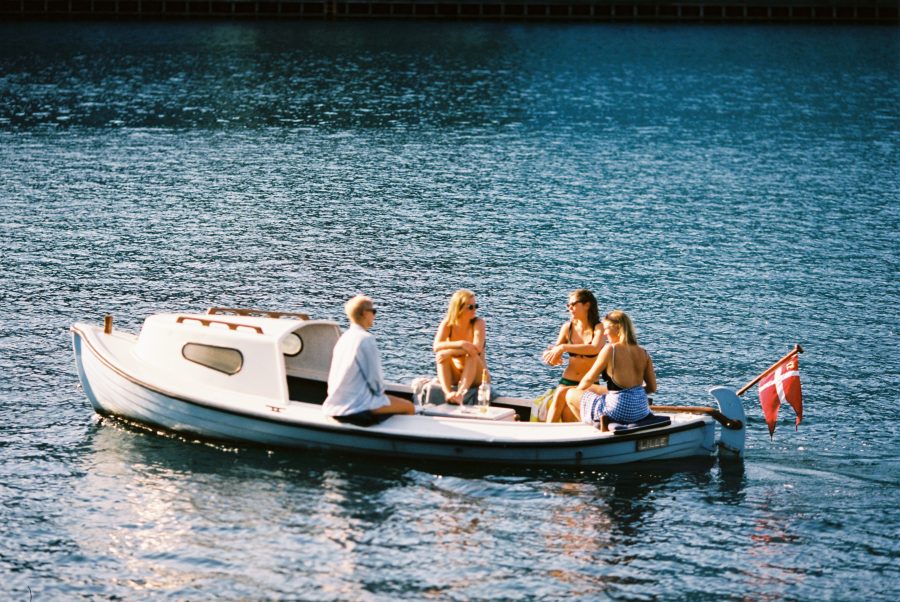
People enjoying the summer in Copenhagen harbor. Taken with Canon EOS 650 + Canon EF 135mm f2 + Kodak Ektar 100.
Here is a few things I learned since my last post and that I tried to change this time:
- Overexpose, don’t underexpose: In the digital world I learned to underexpose to not clip the highlights. With analog film underexpose creates ugly dark noisy photos. With some film stocks like Kodak Portra or Fuji 400P you have to overexpose to unlock it’s true potential.
- Modern film cameras are less pain in the ass: A lot of analog nerds like to use fully mechanical cameras. It’s fun to try but it’s difficult and you will often not get the shot or make mistakes. This time I went for a more modern automatic camera choice.
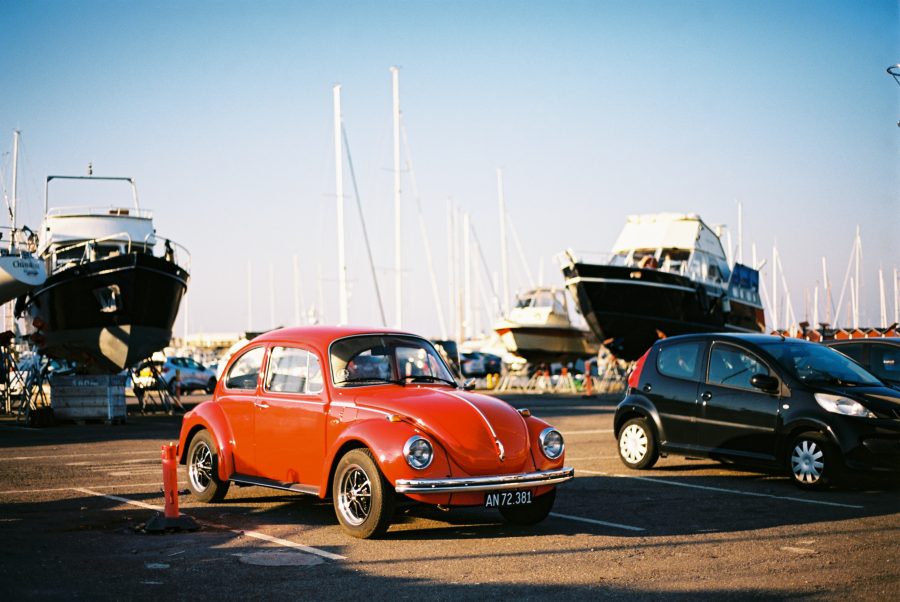
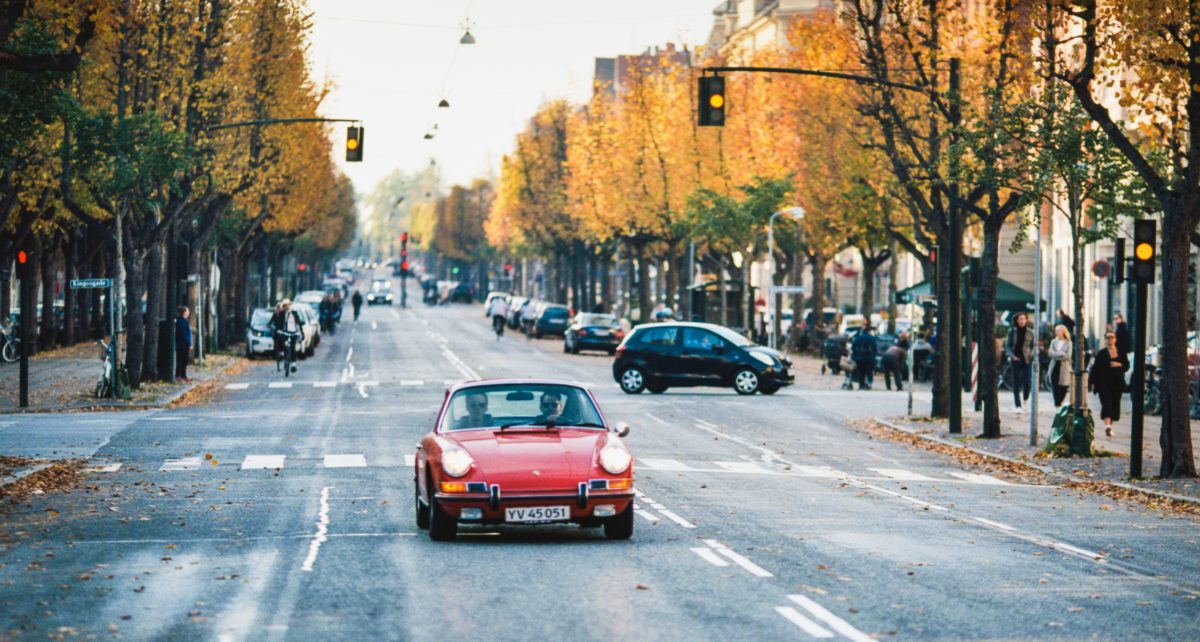
Volkswagen Beetle in Helsingør Harbor, Denmark. Shot with Canon EOS 650 + Canon EF 50mm f1.4 + Kodak Ektar 100. Good example how Kodak Ektar boost red and blue colors.
- Better ways of scanning: To be honest I don’t think I have nailed scanning yet. Last time I used Epsons scanning softwares with default settings, but there are many ways to tweak the scanning software, adjust the scanning tray etc. Check out Nick Carver’s guide to scanning film.
- With digital it’s best to shoot in the early and late hours, yellow and blue hour. With film it almost seems like the opposite. Shooting in the dark gives you very grainy photos. Shooting in the day gives you clear photos with colors that pop. For digital you can only get unique shots if you shoot in these rare weather conditions, with film you can get the magic look in bright day light.
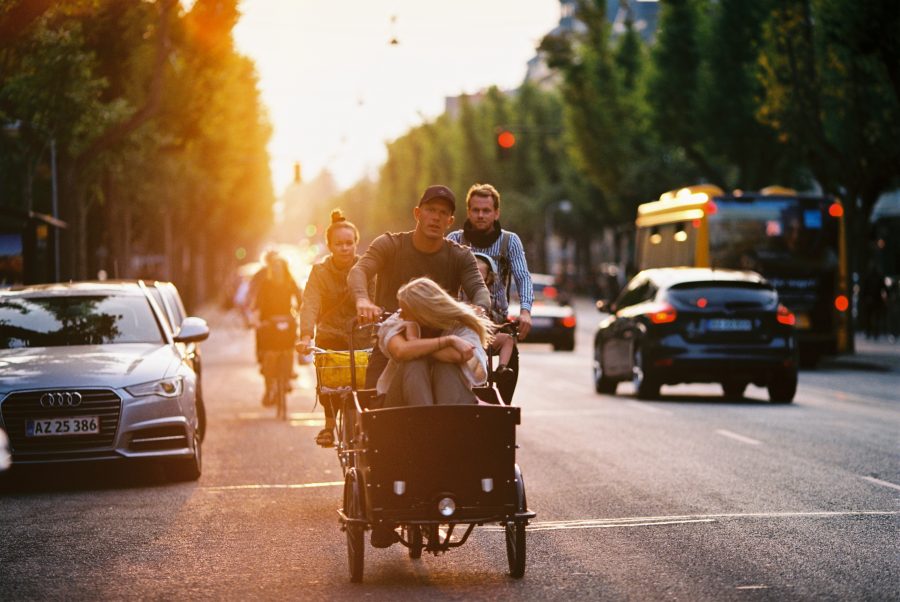
Bikes on Frederiksberg Allé, Denmark. Taken with Canon EOS 650 + Canon EF 135mm f2 + Kodak Ektar 100.
Lessons learned shooting film during 2018:
- Canon auto focus cameras are great, get some modern EF lenses and a cheap Canon camera body. Cameras I tried:
- Canon EOS 650: The first Canon auto focus camera from 1989. You can get it cheap today and it has many pro features, great starter camera camera. Auto focus is ok but not great.
- Canon EOS 3000: It’s one of the last models released, a cheap consumer camera missing many features even the old EOS 650 has. It’s small, light and cheap, but lack features and with terrible auto focus.
- Canon EOS 33V: The best Canon analog film you can get with the features and look of a modern Canon DSLR. It’s a bit more expensive but worth it.
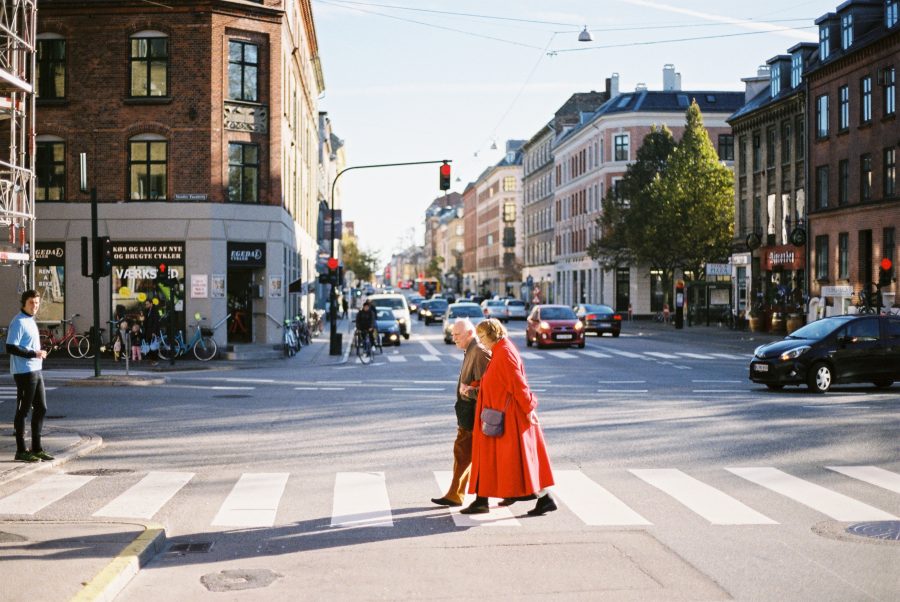
Old couple at Nordre Fasanvej, Frederiksberg. Canon EOS 33V + Canon EF 50mm f1.8 + Kodak Portra 160 (overexposed as iso 100).
- Mamiya 645 is my favorite medium format cameras. Here is the cameras I tried:
- Mamiya M645 – A small’ish medium format camera, very old school, great camera for a “low” price.
- Mamiya 645 Pro – Personally this is my favorite, as small as the M645, with a few more modern features and personally I like the modern look more.
- Mamiya 645 AF – This camera disappointed me. It got auto focus, but it’s so slow to the point where it’s useless. Prices for this camera is very high, not worth it.
- Film stocks:
- Kodak Ektar 100 – Personally I like this one the most, it really makes colors pop. Iso 100.
- Kodak Portra 160 – Used by many hipsters, give you a bit of that vintage look, great for bright sunny days. Iso 160, shoot it as iso 100.
- Fuji 400P – Gives you that wedding photo look. Is like Portra but maybe a bit colder. Iso 400, shoot it as iso 200.
- Cinestill 800 – I really love the Bladerunner’ish look this film can give, but to me this film is too grainy. It’s best suited for night, but you easily underexpose photos in the night and that results in terrible noise that ruins the photos. Iso 800.
- I like to use analog film for “people-photos” but for landscape/cityscape photos I still prefer digital. Analog is not detailed enough (I have never tried large format analog film though). I have gone back to shooting digital now but might use analog for portrait photos in the future.
- Scanning film is painful work, pay your developing lab to scan the film for you. All except one photo in this post was scanning by a lab.
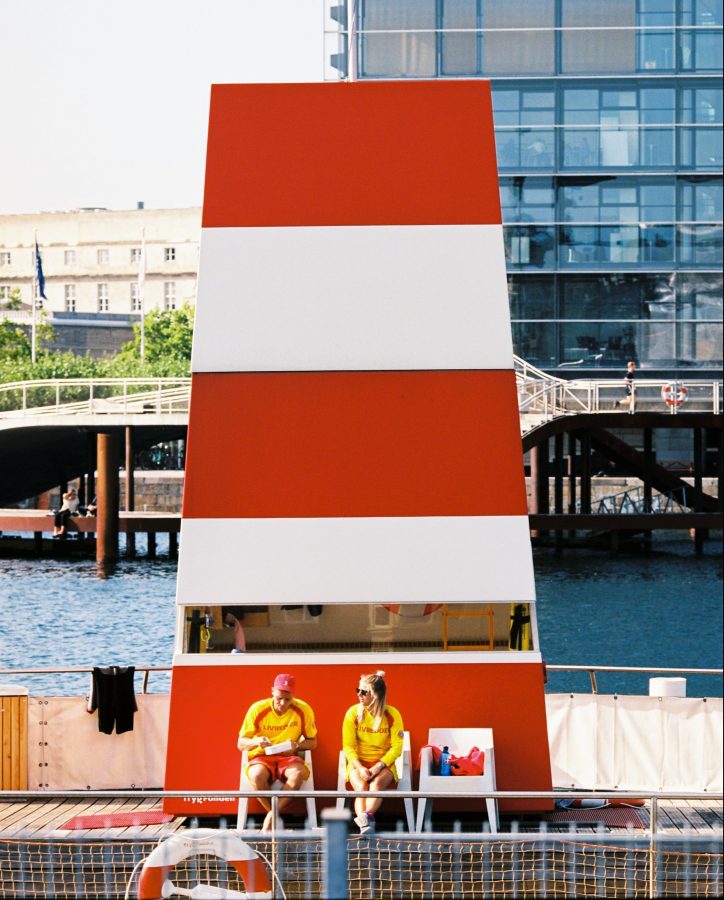
Lifeguards in Copenhagen harbor (Islands Brygge). Shot with Canon EOS 650 + Canon EF 35mm f2 + Kodak Ektar 100.
Update: Now there is now a Shooting Analog Film part 3
